Low Carb Gluten Free Bread
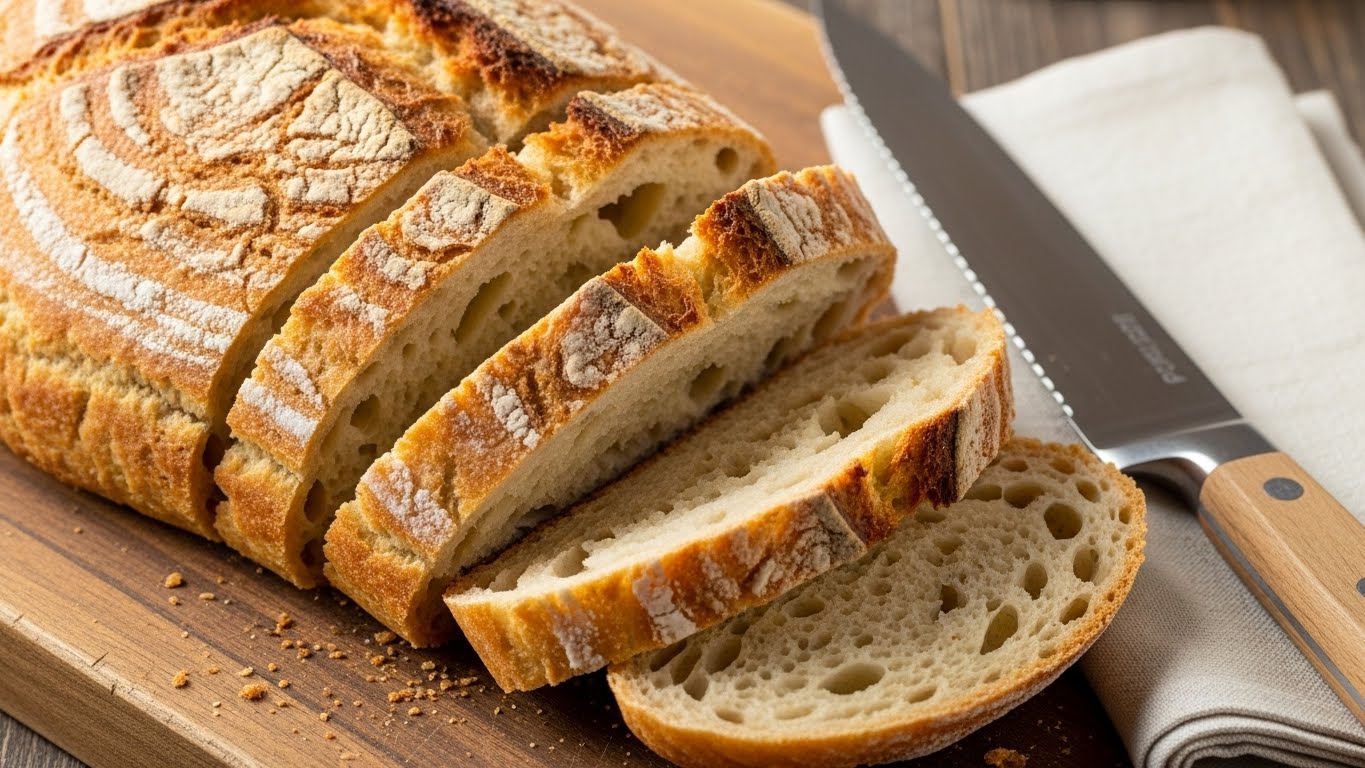
If you have recently adopted a ketogenic lifestyle or discovered a gluten intolerance, there is likely one specific food you miss more than anything else: a good, honest slice of bread. We aren’t talking about the dry, cardboard-like substitutes often found in the frozen aisle. We are talking about soft, chewy, toasted goodness that can hold a sandwich together without crumbling in your hands.
Finding the perfect low carb gluten free bread is often considered the “holy grail” of healthy baking. Most recipes rely too heavily on eggs (resulting in an “omelet loaf”) or are so dense they could be used as doorstops.
But today, your search ends. After countless test batches and flour combinations, I am sharing a recipe that changes everything. This low carb gluten free bread has a genuine crust, a tender crumb, and toasts beautifully. It is packed with fiber, fits perfectly into your macros, and tastes surprisingly like whole wheat bread.
In this comprehensive guide, we will dive deep into the ingredients, the method, and the science behind baking the ultimate loaf. Let’s get baking!
Why This Recipe is a Game Changer
Before we get the mixer running, you might wonder why this specific low carb gluten free bread stands out among thousands of recipes online.
- Real Bread Texture: Thanks to a secret ingredient (psyllium husk), this bread has the elasticity and chewiness usually provided by gluten.
- No “Eggy” Taste: Many low carb breads require 6-8 eggs. We use a balanced ratio to ensure it tastes like bread, not a quiche.
- Nutrient Dense: Unlike white bread which offers empty calories, every slice of this loaf provides healthy fats and fiber to fuel your body.
- Versatility: You can use this dough for buns, rolls, or pizza crusts.
If you are interested in exploring more nutritious baking options beyond just bread, check out our extensive guide on https://dailybakerhub.com/healthy-baking-recipes/.
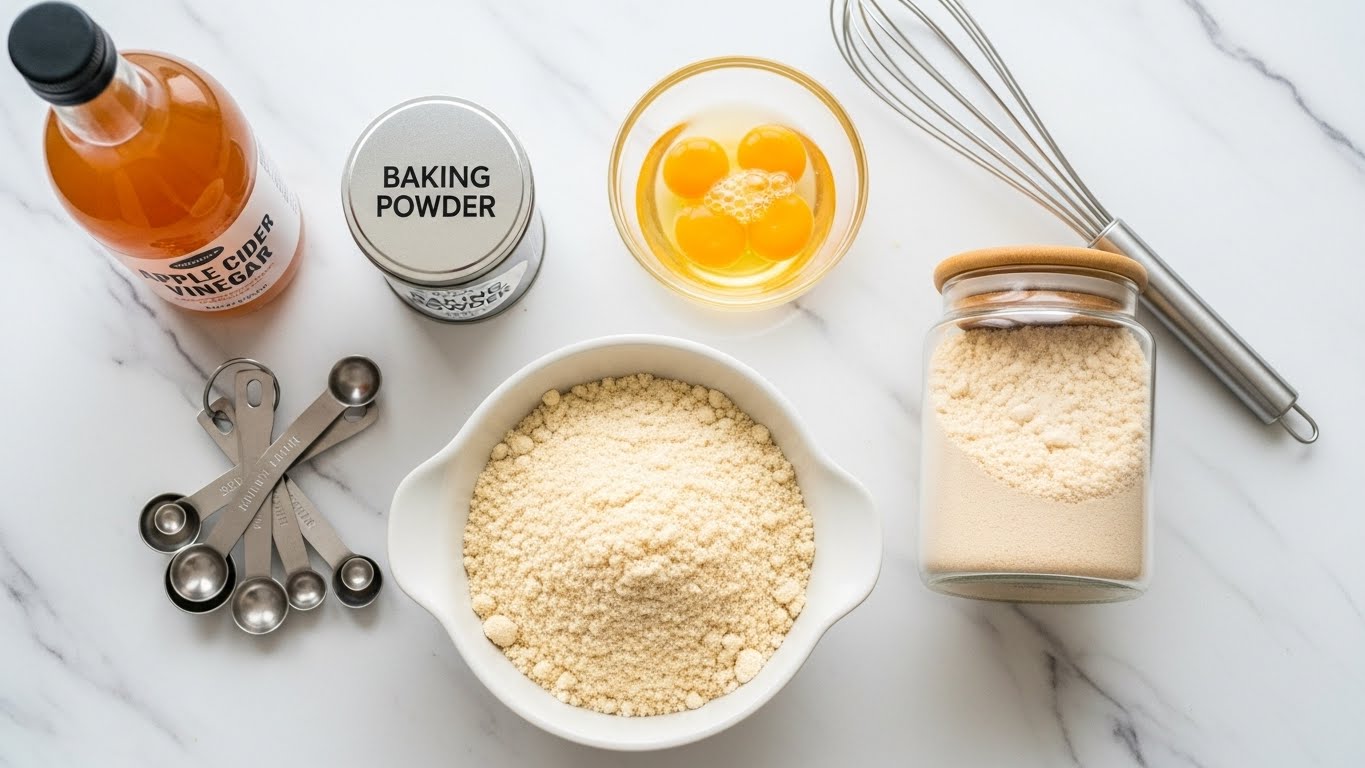
Ingredients for low carb GF bread
To create a structural masterpiece without wheat, every ingredient has a specific job. You cannot make substitutions blindly here. Here is what you need for this low carb gluten free bread.
The Flours (The Body)
- Superfine Almond Flour: This provides the bulk and a mild, nutty flavor. Do not use almond meal (which is gritty) or coconut flour as a 1:1 substitute (it absorbs too much liquid).
- Coconut Flour: We use a small amount to help absorb moisture and provide structure.
The Binders (The “Gluten” Replacers)
- Psyllium Husk Powder: This is the most critical ingredient. It acts as the binder, giving the bread flexibility and allowing it to rise.
- Crucial Note: Use powder, not whole husks. If you have whole husks, grind them in a coffee grinder. Also, some brands turn purple when baked (it’s safe but looks weird)—look for brands known not to turn purple (like NOW Foods or specialized keto brands).
- Xanthan Gum (Optional): A small pinch helps reinforce the structure, but the psyllium does most of the heavy lifting.
The Leavening Agents (The Rise)
- Baking Powder: Use aluminum-free baking powder for the best taste.
- Apple Cider Vinegar (ACV): The acidity reacts with the baking powder to create air bubbles, making the bread fluffy.
The Liquids and Fats
- Egg Whites: We use mostly whites to keep the bread light and airy.
- Hot Water: Essential to activate the psyllium husk instantly.
- Olive Oil or Melted Butter: For moisture and flavor.
Essential Equipment
You don’t need a bread machine for this low carb gluten free bread. However, a few tools will make the process easier:
- Kitchen Scale: Measuring by weight (grams) is the only way to guarantee success in keto baking.
- Stand Mixer or Hand Mixer: To aerate the dough properly.
- 8×4 inch Loaf Pan: This size gives a taller loaf. A 9×5 pan will result in a flatter, wider loaf.
- Parchment Paper: To prevent sticking.
Step-by-step mixing and shaping
Follow this method closely. The order of operations ensures the hydrocolloids (psyllium) hydrate correctly.
Phase 1: Dry Ingredients
- Whisk: In a large bowl, combine the almond flour, coconut flour, psyllium husk powder, baking powder, and salt. Whisk well to break up any almond flour clumps.
Phase 2: Wet Ingredients
- Mix Liquids: In a separate bowl (or your stand mixer bowl), combine the egg whites, apple cider vinegar, and olive oil. Beat briefly.
- Combine: Add the dry ingredients to the wet ingredients. Mix on low speed. It will look dry and crumbly at first—don’t panic.
Phase 3: Activation
- The Hot Water Pour: With the mixer running on low, slowly pour in the boiling hot water.
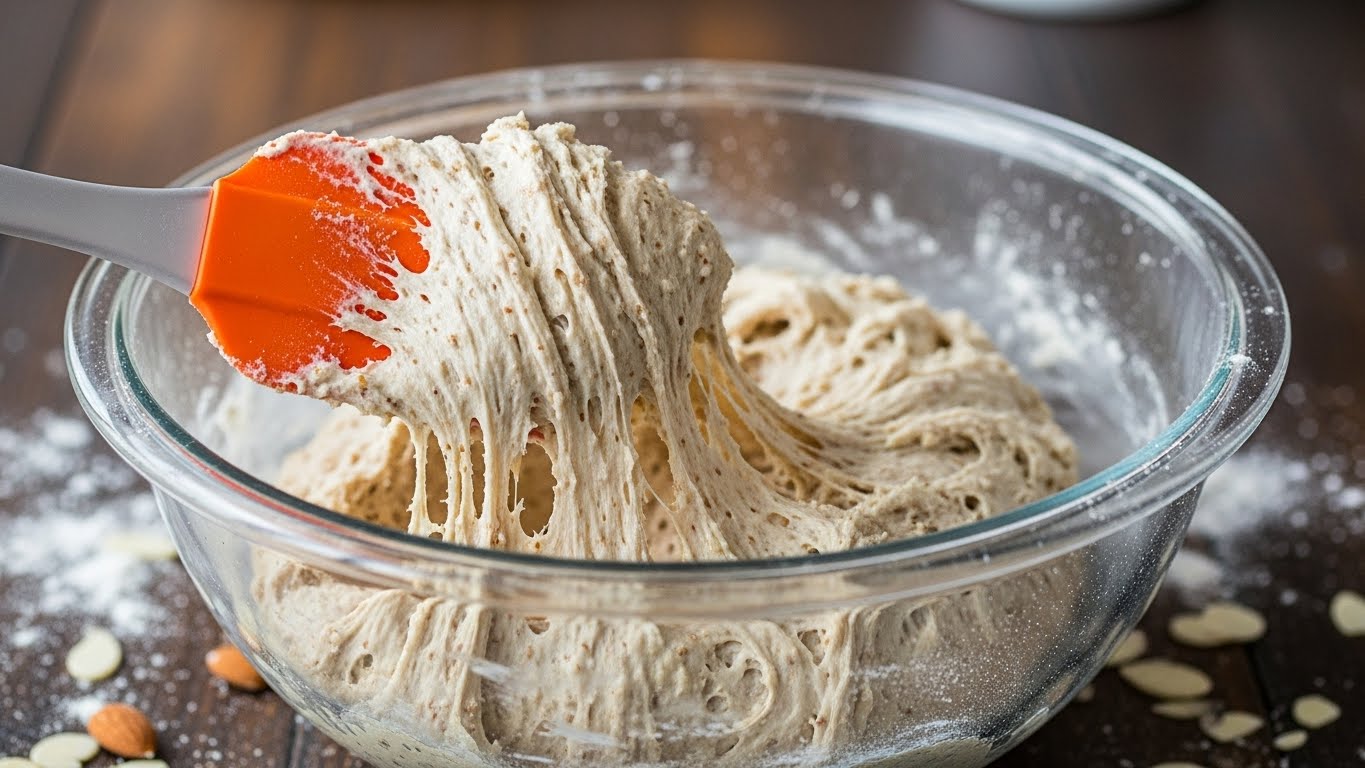
- The Transformation: Watch as the dough expands and comes together. Turn the mixer to high speed and beat for 30 seconds. This is crucial to activate the psyllium.
- Texture Check: The dough should be sticky and heavy, resembling playdough, not a runny batter.
Phase 4: Shaping
- Moist Hands: Wet your hands slightly with water or oil (to prevent sticking).
- Form the Loaf: Scoop the dough out and shape it into a smooth log.
- Pan It: Place the log into your parchment-lined loaf pan. Smooth the top.
- Pro Tip: Use a knife to make a shallow slit down the center of the loaf. This helps steam escape and controls where the bread cracks as it rises.
Baking and cooling for best texture
You are almost there. The baking process for low carb gluten free bread is longer than wheat bread because we need to dry out the excess moisture.
Baking Instructions
- Oven Prep: Preheat your oven to 350°F (175°C). Place the rack in the lower third of the oven (to prevent the top from burning).
- Bake: Bake for 50 to 60 minutes.
- The Tap Test: The bread is done when it is deep golden brown and sounds hollow when you tap the crust. If it sounds like a dull thud, it needs more time.
- Foil Tent: If the top is getting too dark after 40 minutes, loosely cover it with aluminum foil.
The Cooling Rule (Do Not Skip!)
This is where most people fail.
- Remove from Pan: Lift the bread out of the pan using the parchment paper immediately after baking to stop the cooking process.
- Wait: Place the loaf on a wire cooling rack and let it cool completely for at least 2 to 3 hours.
- Why? Low carb gluten free bread continues to “set” while it cools. If you slice it hot, the inside will be gummy and wet. Patience is key!
Troubleshooting Common Bread Fails
Even with the best recipes, variables like humidity and oven calibration can affect the outcome. Here is a quick guide to fixing issues with your low carb gluten free bread.
| Problem | Likely Cause | Solution |
| Bread is Purple | Certain brands of psyllium husk react to heat. | It is safe to eat! Next time, use a “non-purple” brand like NOW or Anthony’s. |
| Center is Gummy/Wet | Underbaked or sliced too soon. | Bake 10 mins longer; let cool completely before slicing. |
| Bread Deflated | Too much baking powder or expired ingredients. | Check expiration dates; ensure you didn’t over-measure liquid. |
| Hollow Shell (Gap under crust) | Dough was too wet or oven too hot. | Reduce water slightly; use an oven thermometer. |
Flavor Variations and Add-ins
Once you master the base recipe, you can customize your loaf.
- Seeded Loaf: Add 2 tablespoons each of sunflower seeds, pumpkin seeds, and flaxseeds for a crunchy, multi-grain texture.
- Garlic & Herb: Mix in 1 teaspoon of garlic powder and 1 tablespoon of dried rosemary/thyme for a savory dinner bread.
- Sweet Breakfast Bread: Add cinnamon and a keto-friendly sweetener. This serves as a great base if you are looking for something similar to our Healthy Banana Bread Recipe but with lower carbs.
Serving Suggestions
How should you eat your low carb gluten free bread?
- The Classic Sandwich: It holds up perfectly to turkey, cheese, lettuce, and tomato.
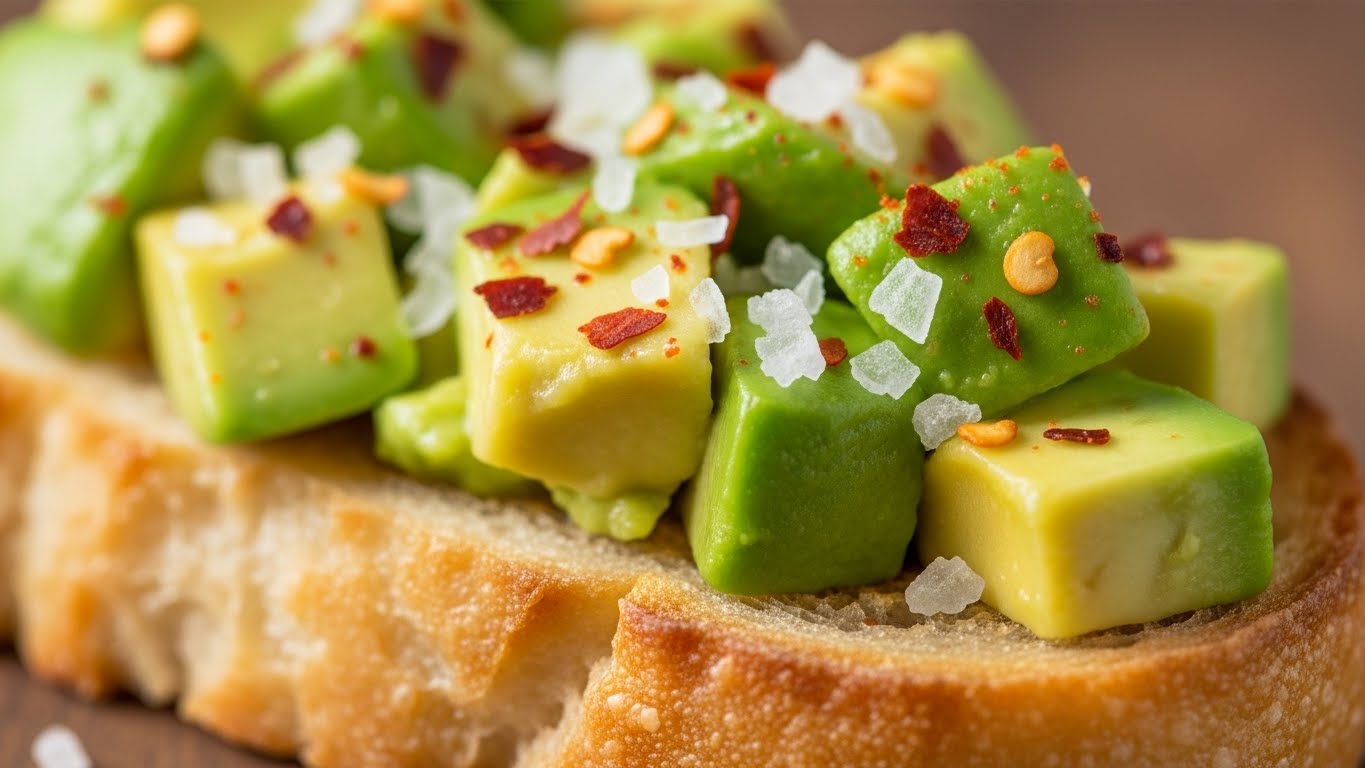
- Avocado Toast: Toast a slice until crispy, top with smashed avocado, red pepper flakes, and a poached egg.
- Grilled Cheese: Yes, this bread fries up in butter beautifully for a melting grilled cheese sandwich.
- French Toast: Since the bread is sturdy, it soaks up egg wash without falling apart.
Storage and Freezing Instructions
Because this bread lacks preservatives, proper storage is vital.
- Countertop: Store in a paper bag or bread box for up to 2 days. Do not use plastic bags on the counter, as trapped moisture will cause mold.
- Refrigerator: Wrapped tightly, it lasts up to 5-7 days.
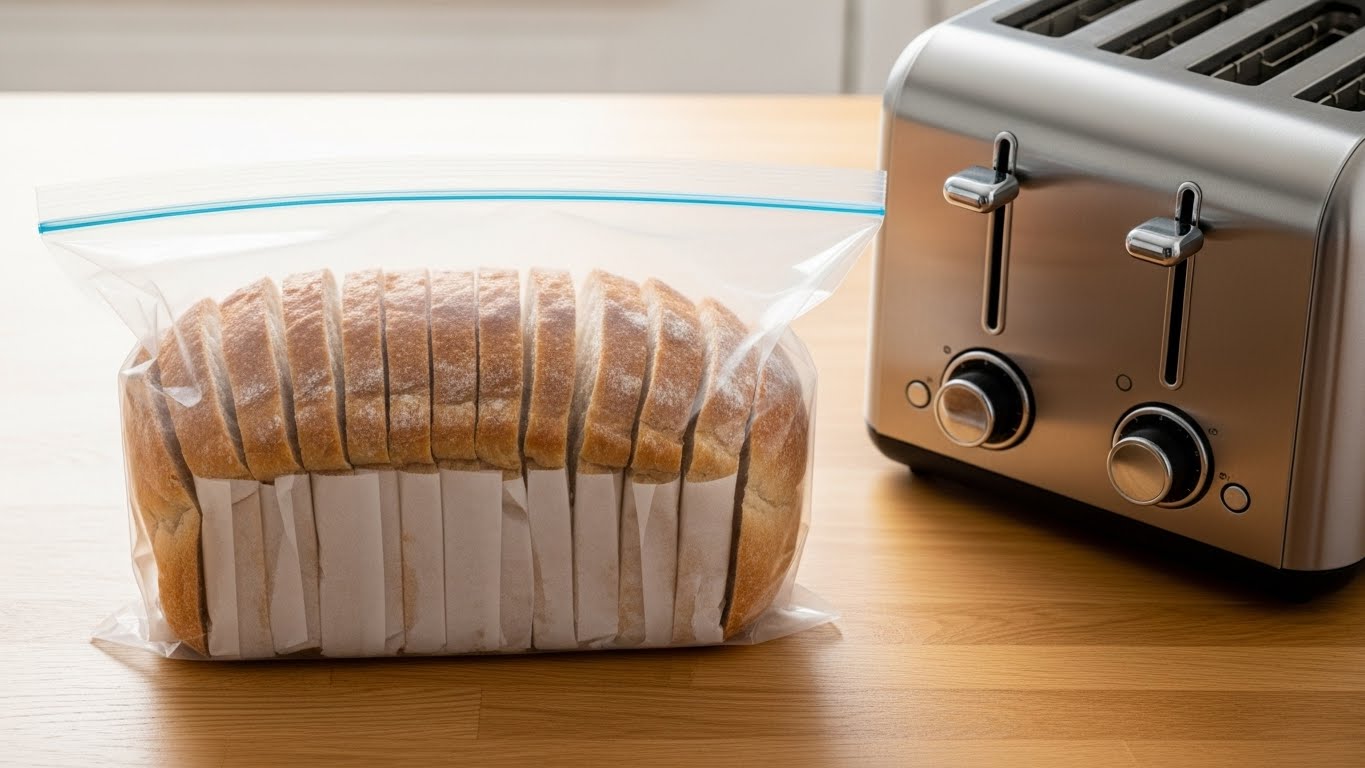
- Freezer: This is my recommended method. Slice the entire loaf. Place parchment paper between slices to prevent sticking. Freeze in a heavy-duty ziplock bag for up to 3 months. When you want a slice, just pop it directly into the toaster!
Nutritional Breakdown (Estimated)
Knowing your macros is essential for keto. Here is the breakdown per slice (based on 12 slices per loaf):
- Calories: ~160 kcal
- Fat: 13g
- Total Carbs: 9g
- Fiber: 6g
- Net Carbs: 3g
- Protein: 5g
Compare this to regular wheat bread (15g+ net carbs per slice), and you can see why this recipe is a lifesaver.
Frequently Asked Questions (FAQ)
Here are the most common questions regarding this low carb gluten free bread.
- Can I substitute the psyllium husk powder?
No, psyllium is the structural backbone of this recipe. Flaxseed meal can sometimes work, but the texture will be denser and less “bread-like.” If you want that airy crumb, stick to psyllium.
- Does this bread taste like egg?
This recipe is specifically designed to avoid the “eggy” taste common in keto breads. By using more egg whites than yolks and balancing it with almond flour, the flavor is neutral and nutty, much like whole wheat bread.
- Is this recipe dairy-free?
Yes, the base recipe is naturally dairy-free if you use olive oil or coconut oil. If you prefer a buttery taste, you can use ghee or grass-fed butter, but it is not required.
- Can I use a bread machine?
Generally, no. Bread machines are programmed for gluten development (kneading cycles). Low carb gluten free bread does not need kneading; it just needs mixing. The long kneading cycles of a machine will likely ruin the structure of the psyllium dough.
Conclusion: The Sandwich is Back on the Menu!
Living a health-conscious lifestyle doesn’t mean you have to deprive yourself of life’s simple pleasures. With this low carb gluten free bread, you can finally say “yes” to the bread basket, the morning toast, and the hearty sandwich lunch.
It requires a bit of precision and some new ingredients, but the result—a warm, soft, nutritious loaf—is worth every second of effort.
Ready to fill your kitchen with the smell of fresh bread? Grab your almond flour and psyllium husk, and let’s get baking!
If you try this recipe, please leave a comment below or tag us in your photos. We love seeing your healthy creations!